Last updated November 17, 2026







Free written scope consultation - allowances, timeline, and change-order rules on paper before a single trade is scheduled
Bathroom Remodeling Maintenance Schedule: What to Do and When
Here’s a fact most contractors won’t tell you: a remodeled bathroom starts depreciating the day the crew pulls out of the driveway. Not because the work was bad, but because almost nobody receives maintenance instructions, and the materials you paid for each have their own care requirements. Epoxy grout and sanded grout need completely different sealing schedules. Porcelain tile and natural stone have opposite cleaning requirements. If your contractor handed you a care sheet at job completion, you’re ahead of most homeowners. If they didn’t, this is what it should have said – a year-one calendar built for Los Angeles homes, where hard water, dry air, and warm interior temperatures put real stress on bathrooms.
Quick Answer
A bathroom remodel needs four recurring maintenance tasks: inspect and replace caulk joints every 12-18 months, re-seal grout and stone on a schedule set by material type (6-12 months for natural stone, 12-24 months for cementitious grout, never for epoxy grout), clean the exhaust fan and confirm airflow every 6 months, and run a 10-minute leak walk-through every season. Everything else – fixtures, glass, cabinets – is inspected annually and addressed as it shows wear. Skipping any of the four core tasks is what turns a $30,000 Los Angeles bathroom into an early remodel.
Styles & brands we work with
- Kitchen remodeling
- Bathroom remodeling
- Home additions & ADU
- Roofing
- Windows & doors
- Driveway & pavers
- Fence
Table of Contents
- Material-Specific Care: Porcelain, Stone, Cement, and Glass
- Grout Maintenance by Type: Re-Sealing, Haze, and Delamination
- The Caulk Joint Schedule – The Highest-Value 30 Minutes of Your Year
- Exhaust Fan Maintenance: CFM Ratings, Cleaning, and CalGreen
- The 10-Minute Annual Inspection That Catches 80% of Water Damage
- Your First-Year Calendar: Months 1 Through 12
- Los Angeles-Specific Factors: Water, Air, and Building Stock
Material-Specific Care: Porcelain, Stone, Cement, and Glass
Every tile in a bathroom has a different relationship with water, and cleaning agents that are perfect for one will damage the next. In our experience across Los Angeles bathrooms, most finish failures we’re called back to look at trace to the wrong cleaner on the wrong surface, not to a bad install. This matrix is the one we walk clients through at final walk-through.
- Porcelain tile: Non-porous, extremely forgiving. Use pH-neutral cleaner or mild dish soap and warm water. Never need to seal the tile itself. Avoid abrasive pads on polished or lappato finishes – they scratch permanently. Acidic cleaners (vinegar, citrus, most “tub and tile” sprays) can dull the glaze over years of use.
- Natural stone (marble, travertine, limestone, slate): Porous. Requires an impregnating sealer at install (24-72 hours after grouting cures), then re-seal every 6-12 months in wet zones. Use only stone-specific pH-neutral cleaner. Vinegar, lemon, and bleach will etch marble within minutes – a permanent chemical scar, not a stain. In Los Angeles homes we often see acid-etched marble on shower benches and vanity tops where an everyday bathroom cleaner was used.
- Cement tile: Porous and textured. Sealed at install with a penetrating sealer, then 2-3 coats of topical sealer for shower surfaces. Re-seal every 12-24 months depending on shower traffic. Cement tile rejects acidic cleaners and can be stubbornly stained by hard-water minerals if left unsealed.
- Glass tile (mosaic or large-format): The face cleans easily, but the grout joints around glass mosaics and the back-buttering adhesion are the weak points. Use a soft sponge and neutral cleaner. Never use a scrub brush with stiff bristles – it scuffs the reflective coating. If a glass tile ever looks cloudy, that’s usually mineral film from hard water, not a failure.
If you’re planning a bathroom remodel and haven’t chosen materials yet, ask your contractor for the maintenance spec on each one before you sign. At Bradford, we hand over the manufacturer care sheets at final walk-through because the materials should come with their own instructions. If you’re still at the design stage, our team can walk through material selection on your Bathroom Remodeling in Los Angeles project before any tile ships.
Grout Maintenance by Type: Re-Sealing, Haze, and Delamination
Grout is where most bathroom water problems start. The good news: grout failure is almost always predictable, and the type of grout tells you exactly what to expect.
Sanded and Unsanded Cementitious Grout
Requires sealing. Re-seal every 12-24 months in dry zones (floor, walls), and every 12 months in the shower. Test whether a re-seal is due by dropping water on the grout line – if it beads on the surface, sealer is intact; if it soaks in and darkens the grout, it’s time. Shower floors and walls in Los Angeles homes with harder water often need attention on the shorter end of that range.
Epoxy Grout
Never needs sealing. Epoxy is non-porous by chemistry; adding sealer does nothing and can leave a film. Its failure mode is different – UV exposure from a nearby window or a heat lamp can yellow white epoxy over years, and poor install (improper mixing ratio) can leave it crumbly in corners. If your epoxy grout is yellowing, that’s a cosmetic issue, not a water-intrusion risk.
Grout Haze vs. Grout Delamination
Two words homeowners hear confused constantly:
- Grout haze is a thin film of dried grout left on tile faces after install. It’s cosmetic. It looks like a dull white cloud on dark tile and comes off with a haze remover or a light acid wash by a pro. If you see it in week one, call your contractor back – it’s a cleanup item, not a failure.
- Grout delamination is when grout separates from the tile edge or the substrate beneath, leaving a hairline crack you can fit a fingernail into. That gap is a water channel. Once water gets behind the tile, it can travel down to the substrate and eventually to the framing behind the wall. Delamination in a shower is a repair-now item; call a professional.
If you’re mid-remodel or already finished and haven’t seen the grout spec in writing, ask for it. Our General Contractor in Los Angeles team documents the grout product, sealer, and re-seal interval for every bathroom we build, because the schedule depends on the specific product installed, not on generic internet advice.
The Caulk Joint Schedule – The Highest-Value 30 Minutes of Your Year
If we could only give a homeowner one maintenance instruction, it would be this: inspect every caulk joint in your bathroom twice a year, and replace the entire caulk line every 12-18 months whether it looks bad or not. Caulk is a sacrificial material – it’s designed to fail before the wall behind it does. A hairline gap at the base of a shower surround can quietly feed water into a wall cavity for years before you see a stain on the drywall in the hallway.
The Caulk Inspection Route
- Base of the shower surround where it meets the pan or tub. Press a dry fingertip along the caulk bead. If the caulk lifts, cracks, or feels spongy, it has failed.
- Inside corners of the shower, where two tile planes meet. Corners are the most common failure point – tile moves, caulk flexes, seams open.
- Around the base of the toilet, at the floor. A failed wax ring is a bigger problem, but caulk failure here shows water is reaching the area.
- Vanity backsplash to wall, and where the vanity meets the floor.
- Around the tub deck, if you have a drop-in tub. Water sits on a horizontal joint.
- Window sill and frame if the bathroom has an exterior window.
Replacement Materials
Use 100% silicone caulk in wet zones (shower/tub joints). Silicone doesn’t accept paint but lasts years longer than latex in water. Use paintable siliconized acrylic in dry zones (vanity joints) where you care about paint finish. Never use grout where a caulk joint belongs – movement will crack it open. Never caulk over old caulk; strip it back to bare tile and dry the joint fully first.
If your current caulk is five years old, it’s overdue no matter how good it looks. The single most expensive water-damage call we get in Los Angeles bathrooms traces to a seven-year-old caulk line that had been “touched up” twice.
Exhaust Fan Maintenance: CFM Ratings, Cleaning, and CalGreen
Bathroom exhaust fans are the least-maintained appliance in the house and one of the most consequential. A fan that isn’t moving enough air leaves moisture on every surface after every shower, and that moisture drives mold, paint failure, and grout cracking. In Los Angeles bathroom remodels, we size every fan to move moisture out efficiently, and the maintenance from there is on you.
Step 1: Read the CFM Rating
CFM means cubic feet per minute – how much air the fan actually moves. For a bathroom, the rule is roughly 1 CFM per square foot of floor area, with a floor of 50 CFM for a small bathroom. A 70-square-foot Los Angeles bathroom with a shower needs at least a 70 CFM fan, ideally 80-90 to allow for duct resistance. Most stock builder fans in older homes run 50 CFM – well short of what a shower requires.
Step 2: Airflow test
Hold a single square of toilet paper up to the fan grille with the fan running. If it holds flat against the grille, airflow is adequate. If it drops away or flutters, the fan is starved – usually by a clogged grille, a sagging flex duct, or a fan housing packed with dust.
Step 3: Clean the grille and housing
Twice a year, pull the grille (most snap off by hand or with two screws), wash it in the sink, and vacuum the fan housing with a crevice tool while the blades are off. Dust build-up on fan blades is the number one cause of reduced CFM in older Los Angeles bathrooms.
Step 4: Know when to replace
Replace the fan when airflow stays below spec after cleaning, when the motor is bearing-noisy (a grinding or rattling yell), or when you’re doing any bathroom remodel and the current fan is under 80 CFM. California’s CalGreen building code requires mechanical ventilation in bathrooms, and a bathroom remodel is the trigger point – permitting typically means a fan-upgrade requirement in inspections. If you’re forced to replace anyway, upgrade to a fan with a humidity sensor or a timer so it runs long enough to clear the room (15-20 minutes post-shower, not the 5 minutes most people give it).
The 10-Minute Annual Inspection That Catches 80% of Water Damage
Water damage in bathrooms rarely announces itself. It shows up slowly: a shadow at the base of a wall, a soft spot in the floor near the toilet, a paint blister on the ceiling below. A 10-minute walk-through once a year catches the majority of it before it becomes a demolition job.
- Look at the ceiling below the bathroom (if you have a floor below). Any stain, ring, or bubbling paint is a leak you need to find this week.
- Press a dry paper towel to the base of the shower surround, then hold it against the wall on the other side of the shower (if accessible). Moisture means water is migrating behind the tile.
- Look for grout cracks wider than a hairline, especially in shower corners and on the shower floor.
- Check caulk joints using the fingertip test above.
- Look for efflorescence – white powder on grout or at the base of tile. It’s a sign of moisture moving through the assembly.
- Listen to the toilet. A running toilet or a slow fill can mask a supply-line or flapper leak.
- Sniff the room with the door closed for an hour. A musty smell that doesn’t clear with the fan running is moisture in the wall or floor assembly.
- Press the base of every vanity cabinet near the floor. Softening particleboard is a slow leak under the sink.
- Check the exhaust fan airflow with the toilet paper test.
- Photograph everything you’re unsure about. A photo from the same angle each year shows you exactly what’s changing.
If anything from that walk-through worries you, call us before the next rainy season. In Los Angeles, water damage often hides through the dry months and shows up after the first winter storm, by which point it’s typically reached the framing. If you think it’s already beyond maintenance, our Bradford Remodeling Co Los Angeles home page covers the full scope of what we do for repair and remodel.
Your First-Year Calendar: Months 1 Through 12
This is the maintenance schedule keyed to a freshly completed bathroom remodel. If you’re working on a bathroom that’s already several years old, jump in wherever your materials currently sit.
Month 1
- Keep the bathroom well ventilated – new grout and caulk continue curing for 30 days and need airflow.
- Avoid full shower use for 72 hours after caulk install, and avoid wet-cleaning stone floors for 7 days.
- Photograph every surface at completion so you have the “before” reference.
Months 2-3
- First caulk joint inspection. If anything failed this early, call your contractor – it’s a callback, not a maintenance item.
- First exhaust fan grille cleaning.
Months 6
- First grout sealer water-bead test (see grout section).
- Full exhaust fan airflow test and cleaning.
- Check grout haze on any dark tile for the first time – haze that hasn’t been removed by now is likely permanent and worth a pro polish.
Months 9-12
- Natural stone re-seal (first cycle).
- Cement tile shower re-seal (first cycle).
- Full year-one inspection using the 10-minute checklist above.
- Caulk replacement cycle – strip, clean, re-caulk the shower and tub joints.
Year Two and Beyond
- Repeat the 12-month cycle, with natural stone re-sealed every 6-12 months in wet zones and cement grout re-sealed every 12-24 months.
- Replace the exhaust fan if it’s under spec or beginning to make noise.
- Inspect shower glass door seals – the vinyl sweep at the bottom of a shower door cracks after 3-5 years and lets water onto the curb.
Los Angeles-Specific Factors: Water, Air, and Building Stock
Los Angeles bathrooms are harder on their materials than most of the country in specific, predictable ways. Los Angeles water is notably hard in many service areas – the mineral content leaves streaks on glass and dark tile and accelerates sealer consumption. That pushes stone re-seal intervals toward the shorter end (6-8 months rather than 12) and makes sealing cement tile a must, not an option.
The dry climate also misleads homeowners. Grout and caulk look fine in the dry season and crack open the first time a winter storm rolls through, because the materials expand and contract with the seasonal humidity swing. Neighbors in the San Fernando Valley or along the coast see this differently from hillside homes near Silver Lake, where temperature swings are wider.
And building stock matters. In older Los Angeles homes – particularly pre-1970 construction in neighborhoods like Echo Park, Mid-City, and Highland Park – the substrate behind a recently remodeled bathroom might be original drywall or lath and plaster rather than cement board, which means a failed caulk joint has less time before it reaches framing. That’s not a reason to skip maintenance; it’s a reason to be firm about the 12-month caulk replacement.
Los Angeles permitting also has its own rhythm. A bathroom remodel generally triggers a mechanical inspection that will insist on a code-required exhaust fan, and if you’re touching the plumbing or electrical, inspection will flag anything that doesn’t meet current code. That’s a good thing, but it means older bathrooms often need a fan upgrade as part of any renovation. Our Kitchen Remodeling in Los Angeles work goes through the same permitting pace, so if you’re considering a coordinated kitchen-and-bath project, we can line up the inspections together.
Common Mistakes to Avoid
- Using vinegar on marble or travertine. A five-second spray of vinegar on polished marble permanently etches the surface. In Los Angeles bathrooms with marble vanities, this is the single most common finish failure we see.
- Assuming epoxy grout needs sealing. It doesn’t. Adding sealer to epoxy grout does nothing for water resistance and can leave a dull film that takes a pro to strip.
- Caulking over old caulk. The new bead bonds to the old, the old is already failing, and you’ve bought six months, not a year. Strip to bare tile, dry fully, then re-apply.
- Running the exhaust fan for 5 minutes after a shower. The fan needs 15-20 minutes to clear the moisture it pulled out of the air. Five minutes moves the humid air around the room and leaves it there.
- Ignoring the fan noise. A fan that used to be quiet and is now grinding has dust-caked bearings and will fail. It’s a $120-$300 replacement; it’s a mold-removal call if it stops entirely.
- Skipping the annual inspection because “nothing looks wrong.” Water damage never looks wrong from inside the bathroom – it looks wrong from the floor below, the hallway, or the basement.
- Assuming your installer handed over a maintenance sheet. Most don’t. If your contractor didn’t, ask for the specific grout, sealer, and caulk product names, then look up manufacturer maintenance for each. If they can’t produce the spec, that’s a warning sign about how they document a job.
See the difference
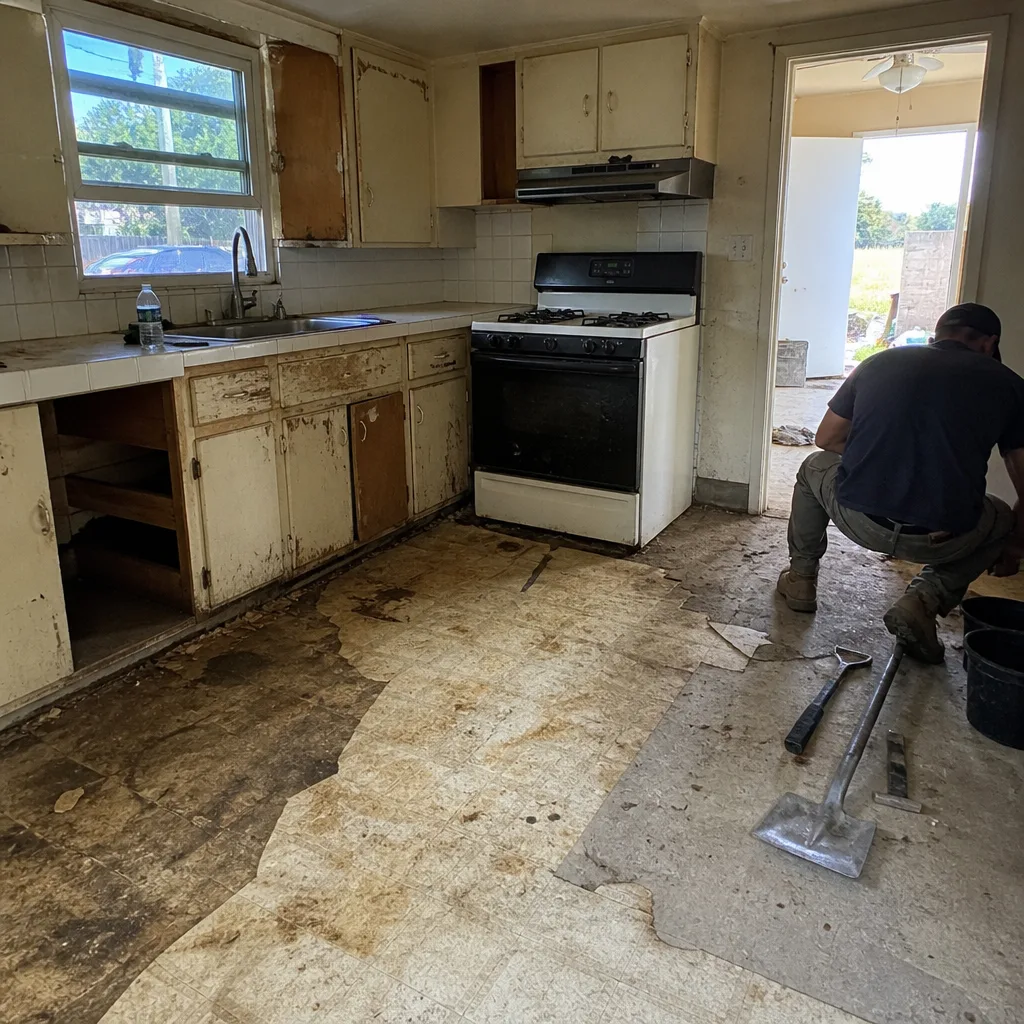 Before
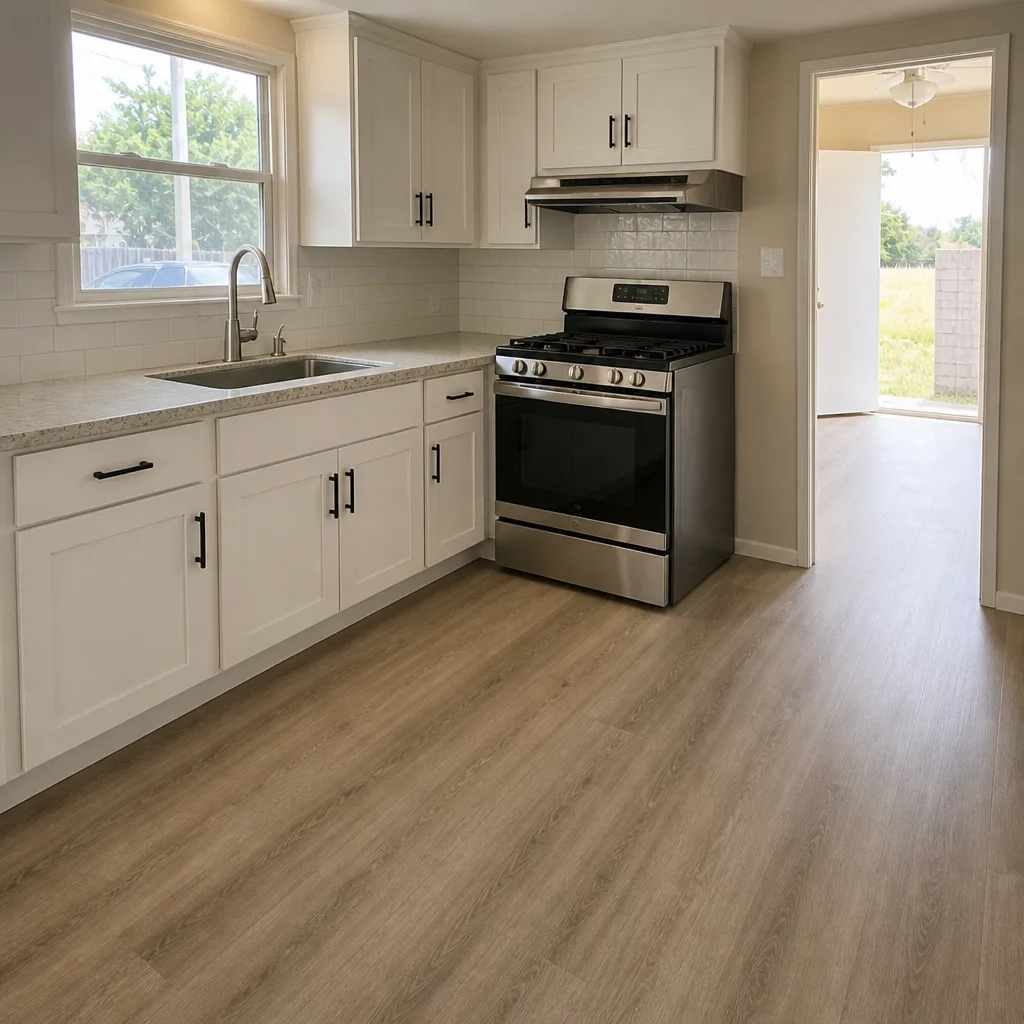 After
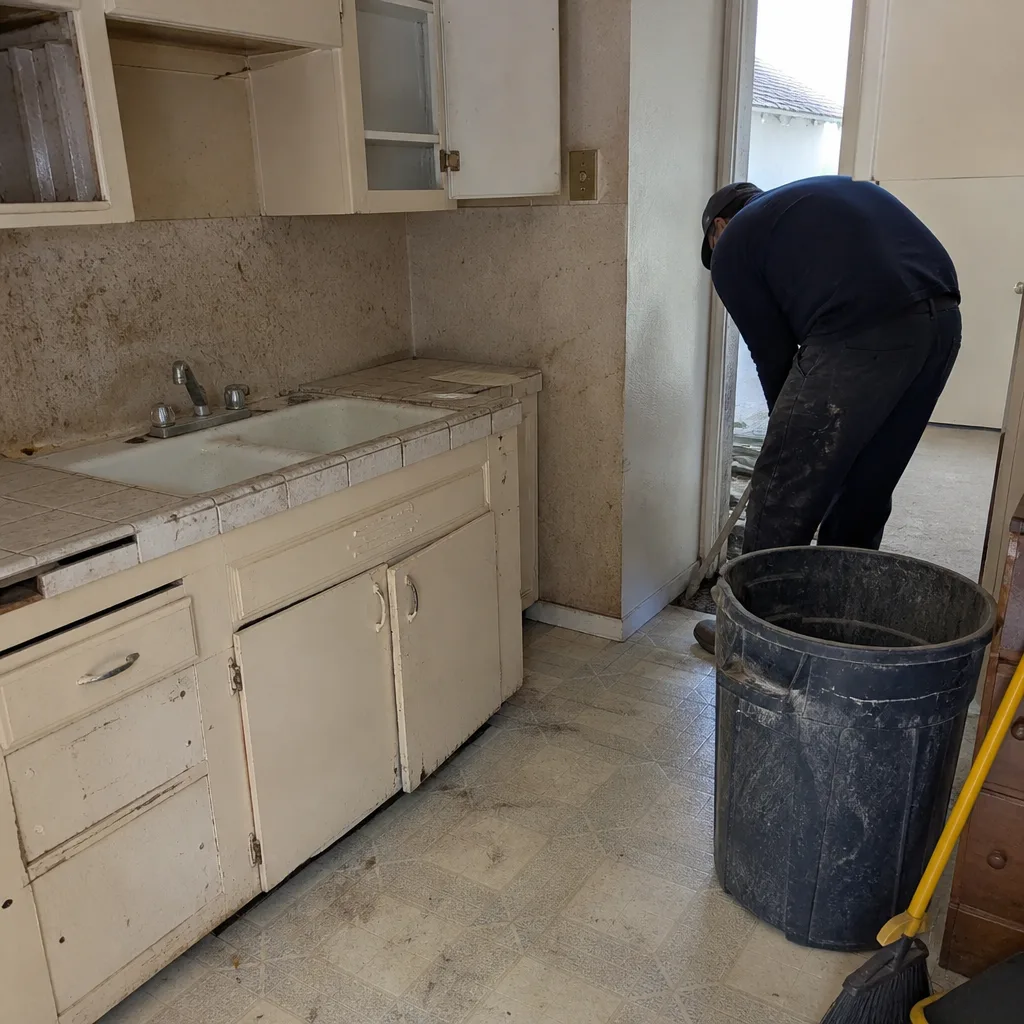 Before
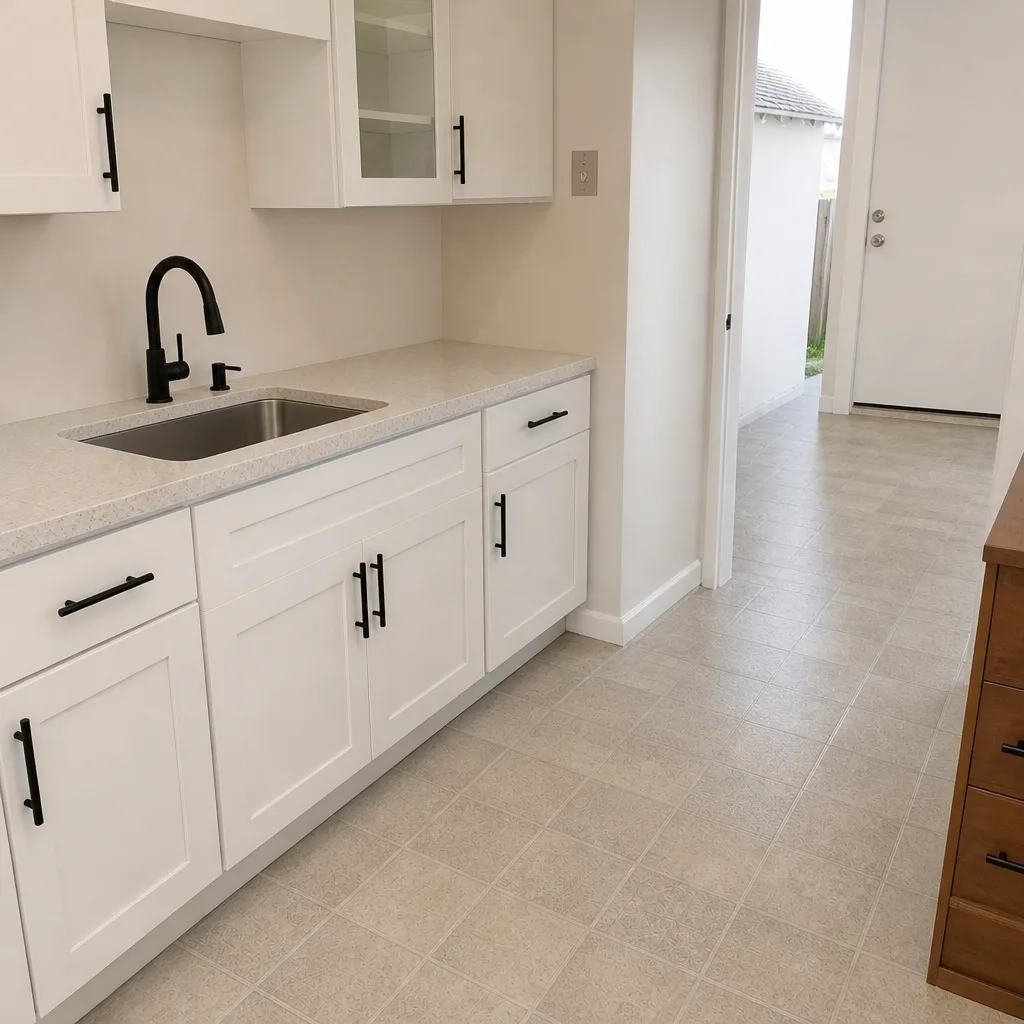 After
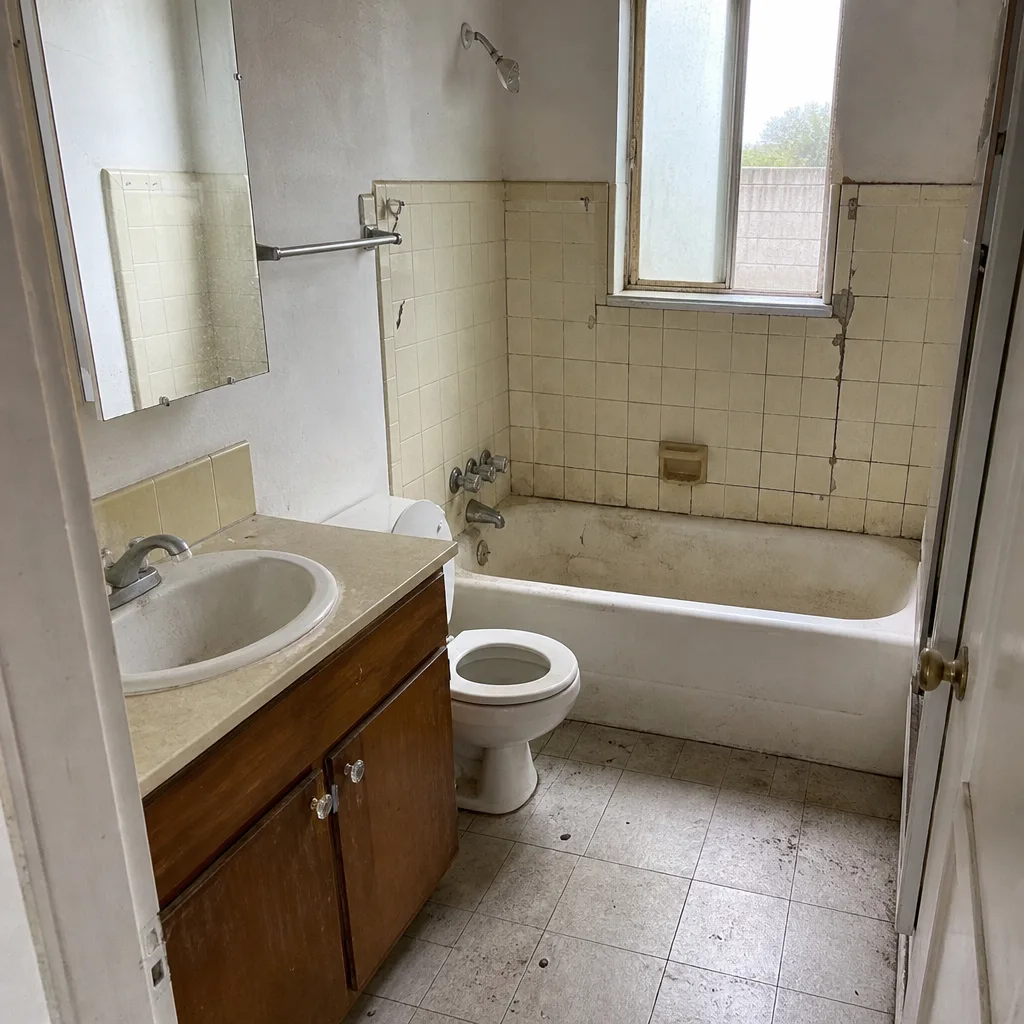 Before
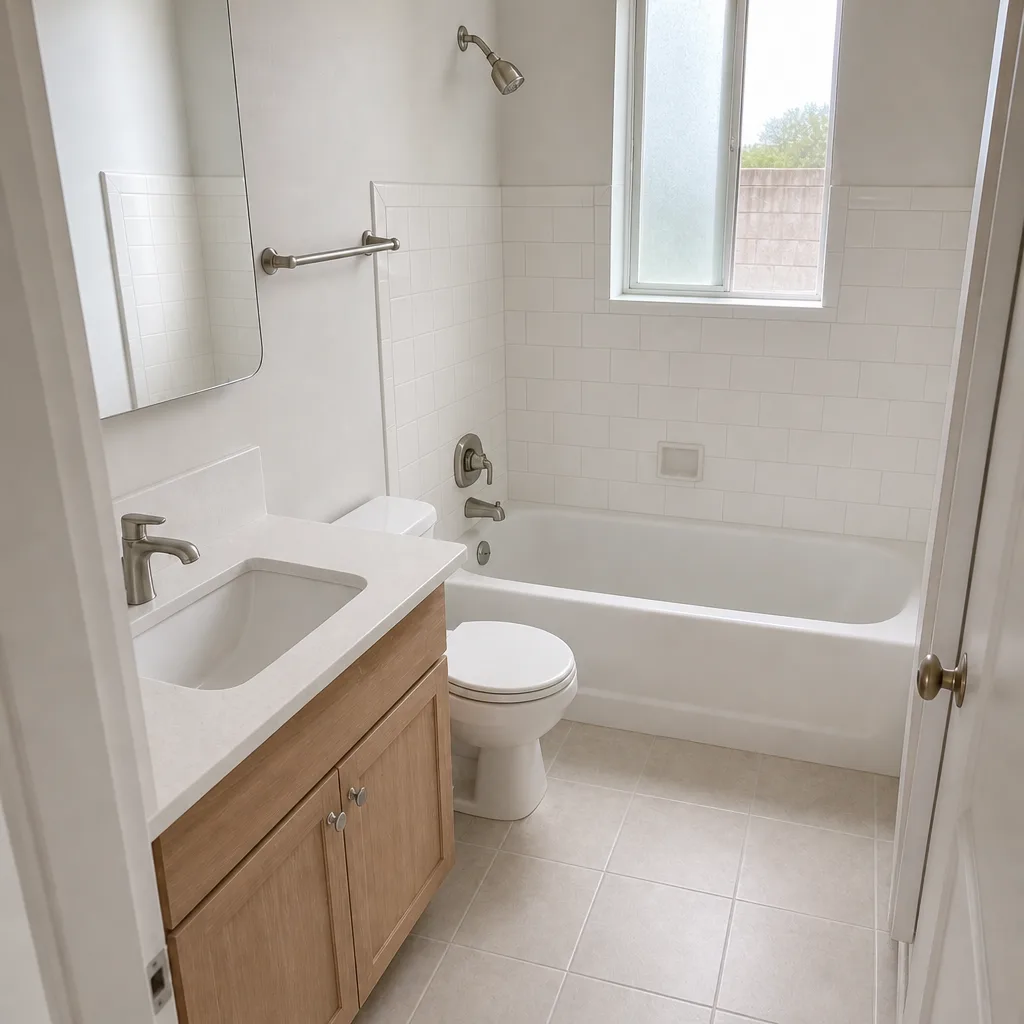 After
When to Call a Professional
Call a professional before you see visible damage, not after. Specific triggers: grout delamination in a shower (cracks you can fit a fingernail into), water stains on a ceiling below the bathroom, a spongy spot in the floor near the toilet or tub, a persistent musty smell that doesn’t clear with the fan, or an exhaust fan that’s failed the toilet paper airflow test after cleaning. Any of those means water has already moved past the surface layer, and the fast response in Los Angeles is a free inspection.
Bradford Remodeling Co Los Angeles offers free estimates in Los Angeles – call (844) 343-6681. Every price is written before any work starts, new projects carry our 365-Day Done Right Promise (written guarantee; if the work fails within the year, we return and correct it at no charge), and a live person answers the phone around the clock. Background-checked, uniformed technicians arrive at your door – you know exactly who’s coming before they arrive.
Frequently Asked Questions
Sanded or unsanded cementitious grout needs re-sealing every 12-24 months in dry zones and every 12 months in a shower; natural stone in a wet zone needs re-sealing every 6-12 months. Epoxy grout never needs sealing. Test with a water drop – beading means the sealer is holding, soaking in and darkening means it’s due.
Grout haze is a cosmetic white film left on tile after install and comes off with a haze remover. Grout delamination is a structural separation – a hairline crack where grout pulls away from the tile edge – and it lets water behind the tile into the substrate. Call a professional for delamination; call your original contractor for haze from a recent job.
Hold a square of toilet paper to the grille with the fan on – if it doesn’t hold flat, airflow is inadequate. For California CalGreen compliance, a bathroom needs roughly 1 CFM per square foot of floor area with a 50 CFM minimum, and a bathroom remodel in Los Angeles typically triggers a mechanical inspection that will require the fan to meet current code. If it’s under spec, upgrade.
12-18 months in a shower, longer in dry zones. Los Angeles seasonal humidity swings stress the material faster than a steady climate would, and hard water in many service areas degrades silicone sealant more quickly. Plan to strip and re-caulk shower and tub joints every 12-18 months regardless of appearance.
You can skip grout sealing, but you still need the caulk replacement cycle, exhaust fan maintenance, and annual inspection. Epoxy grout removes one recurring task, not the whole schedule – and if the epoxy was installed poorly (wrong mixing ratio or wet-cure issues), it can fail in corners within a few years.
Call a licensed general contractor who can trace the source, not a handyman who’ll caulk over it. In Los Angeles, water damage discovered during a maintenance inspection is usually caught before it reaches the framing, which keeps the repair in the hundreds rather than the thousands. Call Bradford Remodeling Co Los Angeles at (844) 343-6681 for a free estimate – we’ll document the source and price the fix in writing.
The Bottom Line
Your bathroom remodel’s maintenance schedule has four non-negotiables: re-caulk shower and tub joints every 12-18 months, re-seal grout and stone on a material-specific schedule (6-12 months for natural stone in wet zones; 12-24 months for cement grout; never for epoxy), clean and test the exhaust fan twice a year, and run the 10-minute annual inspection that catches 80% of early water damage. Do those four things and a bathroom remodeled today will look and function the same a decade from now. Skip them and you’ll be remodeling the same bathroom a second time – at Los Angeles prices. Every job Bradford builds comes with a written price before work starts, background-checked technicians on every visit, and the 365-Day Done Right Promise: if the work fails inside the guarantee period, we come back and correct it at no charge. If you want the schedule documented for your specific materials, call (844) 343-6681 for a free estimate – a live person answers.
Written by the team at Bradford Remodeling Co Los Angeles.