Last updated November 17, 2026





Free written scope consultation - allowances, timeline, and change-order rules on paper before a single trade is scheduled
Kitchen Remodeling Maintenance Schedule: What to Do and When
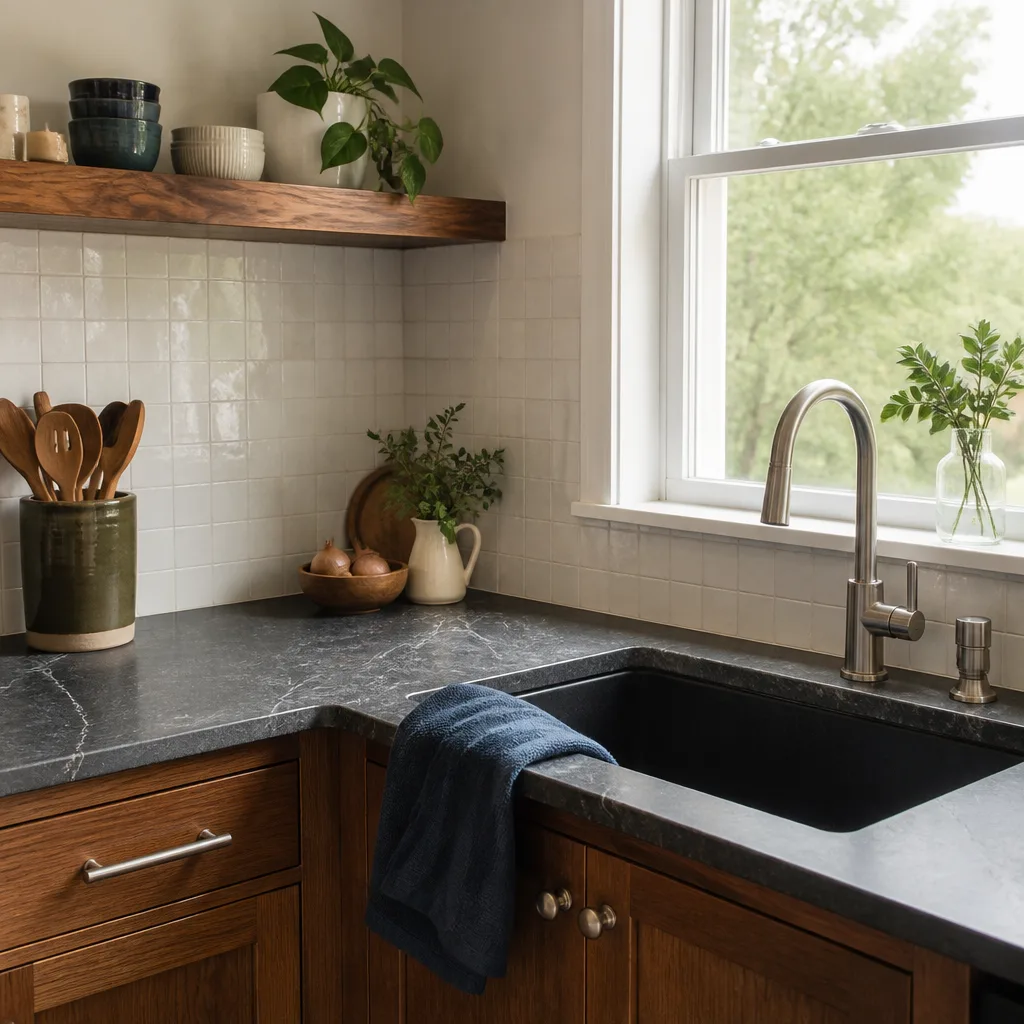
Most kitchen remodels don’t fail because someone picked the wrong cabinet brand. They fail at the caulk bead where the backsplash meets the countertop. That thin line of sealant isn’t decoration – it’s an expansion joint, and it’s designed to be the sacrificial piece that absorbs movement between two surfaces that expand and contract at different rates. Ignore a hairline crack there for 18 months, and water wicks behind the tile, the substrate softens, and a $40 re-caulk becomes a $1,400 tile repair. In a Los Angeles kitchen, where indoor-outdoor living and slab-on-grade construction push seasonal movement harder than most climates, that failure curve runs faster. This guide gives you a real interval schedule for the parts of your kitchen that quietly wear out – and the year-one checkpoints your warranty depends on.
Quick Answer
A finished kitchen needs a maintenance schedule tied to three windows: 90 days, 6 months, and 12 months after the remodel (warranty-protected check-ins), then a repeating cycle of caulk inspection every 6 months, grout sealing every 12 to 18 months, cabinet hinge adjustment once a year, and under-sink plumbing checks every 3 months. Natural stone needs re-sealing annually, engineered quartz needs none, and butcher block needs oiling every 4 to 6 weeks. Log every action with the date and product used – that paper trail supports warranty claims and adds documented value at resale.
Styles & brands we work with
- Kitchen remodeling
- Bathroom remodeling
- Home additions & ADU
- Roofing
- Windows & doors
- Driveway & pavers
- Fence
Table of Contents
- The Year-One Window: 90 Days, 6 Months, and 12 Months
- Caulk Joints and Grout Sealing: The Six-Month Rule
- Cabinet Hinge Adjustment and Hardware Care
- Under-Sink Plumbing: The Quarterly Check
- Countertop Care by Material: Stone, Quartz, and Butcher Block
- Ventilation Hood Filters and Duct Grease: A Fire Code Matter
- Building a Maintenance Log That Protects Your Warranty
The Year-One Window: 90 Days, 6 Months, and 12 Months
The first year after a kitchen remodel is the only period when every component is simultaneously under the installer’s warranty and the manufacturer’s warranty. That overlap doesn’t last. Treat the first 12 months as a structured inspection cycle, not a waiting game, because the things that fail early fail in predictable spots: cabinet doors that were dead-level on install drift as the wood acclimates, caulk shrinks as it fully cures, and drawer glides reveal a misaligned rough-in once the weight of real pots and pans settles in.
Here’s the interval schedule we recommend, and the one our own technicians walk homeowners through at project close:
- 90 days: Open and close every cabinet door and drawer at least a dozen times. Check for rubbing, sagging, or a door that no longer sits flush. Look at every caulk joint for shrinkage cracks and re-caulk any gap with color-matched silicone.
- 6 months: Inspect the under-sink cabinet floor for water staining or soft wood. Pull the aerator off the faucet and clear mineral buildup. Check the range hood filter and clean or replace it based on how often you cook.
- 12 months: Re-seal natural stone counters, check grout lines for erosion in the wet zones near the sink, adjust cabinet hinges and drawer tracks, and inspect the exhaust duct connection at the hood.
Timing matters more in Los Angeles than in most markets, because our dry summers and the marine layer along the coast create a wider seasonal swing in indoor humidity than homeowners expect. Wood cabinet boxes move. Caulk beads stretch and shrink. A kitchen in Culver City a mile from the ocean cycles differently than one in the Valley, and the silicone joints know the difference.
Caulk Joints and Grout Sealing: The Six-Month Rule
Caulk is the most neglected maintenance item in any kitchen, and it’s also the cheapest to correct. Check every joint where two different materials meet – backsplash to counter, counter to wall, sink rim to counter, and the seam along a tile floor – twice a year. If you can’t remember the last time you looked, it’s been too long.
Here’s what to look for and what to do:
- Hairline cracks: Re-caulk immediately. A 1/16-inch crack looks harmless and lets a surprising amount of water through over a wet season.
- Discoloration or dark spots: That’s mold behind the bead. Cut it out with a utility knife, clean and dry the joint thoroughly, then re-apply 100% silicone. Never caulk over old caulk – it won’t bond.
- Grout erosion near the sink: Re-grout and seal. Areas that see daily splashing erode first.
- Grout sealing: Every 12 to 18 months on floor and backsplash grout, sooner in high-traffic zones.
The reason the six-month rule matters in Los Angeles specifically: our dry air shrinks caulk faster than humid climates do, then the winter rains arrive and the joint that was merely cracked in September is actively leaking by January. We’ve seen this exact pattern in the older Spanish-style homes of Silver Lake and Echo Park, where a 1940s slab and a new tile backsplash move in entirely different directions. The bead on that joint is the only thing standing between you and a substrate repair.
Cabinet Hinge Adjustment and Hardware Care
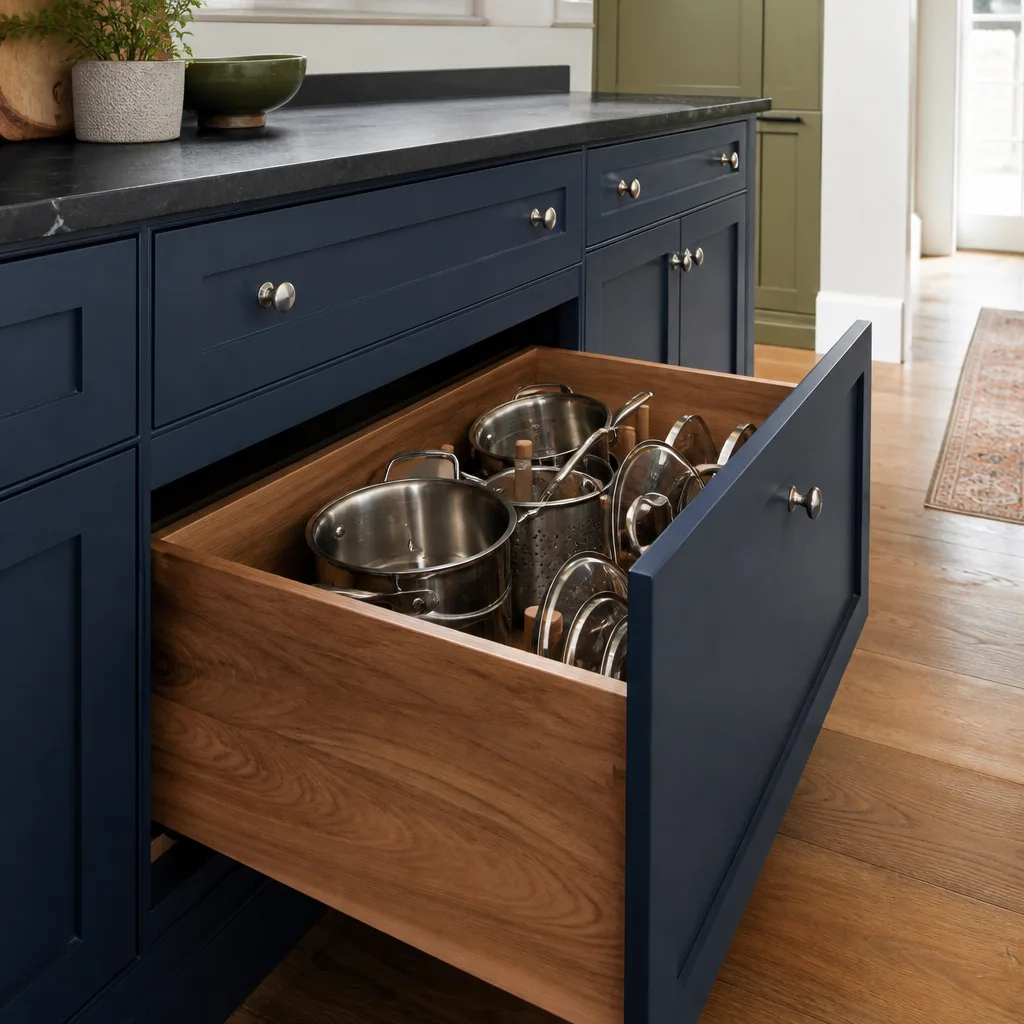
Cabinet doors are hung to a tolerance that includes a small allowance for the wood to settle. Over the first year, doors can drop a sixteenth of an inch, drawer fronts can rack, and soft-close hinges can lose their adjustment. None of this is a defect – it’s normal break-in – and all of it is adjustable in minutes with a Phillips screwdriver and a little patience.
Once a year, do this walkthrough:
- Open and close every door and listen. A squeak means a dry hinge; a click means a loose screw.
- Check that door gaps are even top and bottom. If a door is sagging, loosen the two screws on the cabinet-side plate and nudge the door until the gap is uniform, then retighten.
- For European-style concealed hinges (standard on KraftMaid and Wellborn cabinetry), use the adjustment screws on the hinge body to fine-tune depth and lateral alignment.
- Wipe down hardware with a damp cloth and dry immediately. Avoid abrasive cleaners on brushed finishes.
Soft-close mechanisms have a lifespan – typically several years of daily use – and replacement dampers are inexpensive and easy to swap. If a drawer or door stops self-closing smoothly, that’s a maintenance item, not a warranty failure. When we specify KraftMaid or Wellborn cabinetry, we do it because their hardware components are standardized and stocked, not proprietary – which means adjusting and replacing them stays cheap for the life of the kitchen. That’s one reason to choose documented brands over private-label builder specials, and one reason our kitchen remodeling in Los Angeles projects close with a written record of every spec.
Under-Sink Plumbing: The Quarterly Check
The under-sink cabinet is where small leaks do the most damage in the shortest time, because the leak usually drips onto a cabinet floor and goes unnoticed until the wood discolors. Set a reminder for every three months, and it takes two minutes:
- Dry every fitting and supply line connection. Look for a wet ring on the cabinet floor.
- Tighten only hand-tight on compression fittings. Over-tightening crushes the ferrule and creates the leak you’re trying to prevent.
- Check the P-trap and the dishwasher drain connection for slow seepage.
- Look at the cabinet floor for softness or staining. If the floor is spongy, address it immediately.
In Los Angeles, the under-sink cabinet also sees more heat than in cooler markets – kitchens facing south or built over garages in the Valley can hit 90 degrees under the sink in summer. That heat-stress combination speeds up rubber washer degradation and causes the cheap flexible supply lines to fail sooner. If your kitchen was built or remodeled with braided stainless supply lines, you’re ahead of the curve; if not, plan to replace them.
Countertop Care by Material: Stone, Quartz, and Butcher Block
Just as important as cleaning your counters is knowing how the wrong maintenance routine voids your warranty. Here’s the correct schedule for the three most common materials:
- Granite and other natural stone: Re-seal annually with an impregnating sealer. Test first by dripping water on the surface – if it beads, the seal is intact; if it soaks in, it’s time. Never use acidic cleaners (vinegar, lemon, bleach).
- Quartz and engineered surfaces (Cambria, Silestone, Caesarstone): No sealing required. Wipe with mild soap and water. Do not place hot pans directly on the surface – thermal shock can crack or discolor engineered quartz – and avoid abrasive scouring pads that can dull the finish. Following these two rules alone prevents the majority of quartz warranty claims.
- Butcher block: Oil with food-grade mineral oil every four to six weeks, more often in dry weather. Re-sand and re-oil if the surface feels rough. Never submerge, soak, or leave standing water on a butcher-block surface, and use a cutting board rather than cutting directly on it.
In Los Angeles, the most common material mistake we see is a DIY sealer applied over a quartz or engineered stone surface – often out of habit from a previous granite kitchen – that traps moisture and creates a haze. That’s a maintenance error, and on Cambria surfaces it can void the manufacturer’s coverage. When we specify premium brand materials in a Los Angeles project, we hand over the manufacturer’s care documentation along with our own care sheet at close.
Ventilation Hood Filters and Duct Grease: A Fire Code Matter
A dirty range hood filter is not just a performance problem. Grease buildup in the exhaust duct is a fire risk, and in Los Angeles, residential kitchen ventilation is regulated under the same fire code framework that governs commercial kitchens – duct and filter cleanliness is a life-safety matter, not an aesthetic one.
Maintenance intervals:
- Mesh or baffle filters: Soak and degrease monthly if you cook daily – at minimum every three months. Most dishwasher-safe models can be run through a cycle.
- Charcoal or non-ducted filters: Replace every 3 to 6 months depending on use.
- Duct inspection: Annually. If you can see visible grease buildup on the duct interior, call a professional for a duct cleaning – this is not a DIY job on a system that reaches into wall or roof cavities.
- Hood surface: Wipe monthly. Grease on the hood exterior becomes combustible over time.
If your Los Angeles kitchen is part of an older home – common in neighborhoods like Highland Park, where kitchen additions from the 1950s were sometimes ducted through original wall cavities – the duct run itself may be undersized or partially disconnected. When we open up a kitchen for remodel and find that, we fix it, because a range hood that vents into a wall cavity is a code problem waiting to happen and an energy waste even when it isn’t dangerous. That kind of hidden-scope discovery is why our projects carry a written price before any work starts.
Building a Maintenance Log That Protects Your Warranty
A written maintenance log does two things: it supports a warranty claim if a component fails early, and it provides documentation for a home sale that justifies your asking price. Used-buildings buyers in Los Angeles increasingly ask for maintenance records, and a well-kept log is worth more than anecdote at negotiation time.
Here’s what a useful log contains. Keep it simple:
- Date of each maintenance action and what was done
- Product or material used (specific sealer, caulk, oil – by name and, where relevant, manufacturer)
- Who did the work (you, or a professional)
- Photos if the action is a repair, not just a routine check
- Warranty documents and the closed-out scope of work
Here’s the plain-language version: when our crew closes out a Los Angeles kitchen, we hand you a binder with the written scope, the signed 365-Day Done Right Promise, and every manufacturer spec sheet for the materials we specified. Those files are the foundation of your maintenance log. If the caulk joint we installed fails inside the first year, we come back and correct it at no charge – that’s what the guarantee means. The log is what tells us when the work was completed and what the conditions were, and it’s what you hand a buyer down the road. If you want to read more about how we handle the whole scope, start with our Bradford Remodeling Co Los Angeles home page and the general overview of how we structure a project.
Common Mistakes to Avoid
- Caulking over an old caulk bead: New silicone won’t bond to old, and the joint fails twice as fast. Cut out the old bead first, every time.
- Sealing engineered quartz: Quartz and Cambria surfaces don’t need sealing, and applying an impregnating sealer can create a haze that voids the manufacturer’s warranty.
- Ignoring a slow under-sink drip: The cabinet floor is usually particleboard or MDF, and it swells and delaminates faster than you check. A quarterly phone reminder solves this.
- Running the range hood without cleaning the filter: Grease buildup in the duct is a fire code issue, not just a performance one, and Los Angeles kitchen ventilation is regulated accordingly.
- Placing hot pots directly on engineered stone: Thermal shock cracks quartz. Use a trivet – it’s the simplest mistake to avoid.
- Skipping the year-one walkthrough: Manufacturer warranties on cabinets, faucets, and surfaces often have notification windows. Note and report issues in year one, not year three.
- Storing cleaning products under the sink without a leak check: In a Los Angeles kitchen, high summer heat speeds washer degradation. If you haven’t looked under the sink in a year, look today.
See the difference
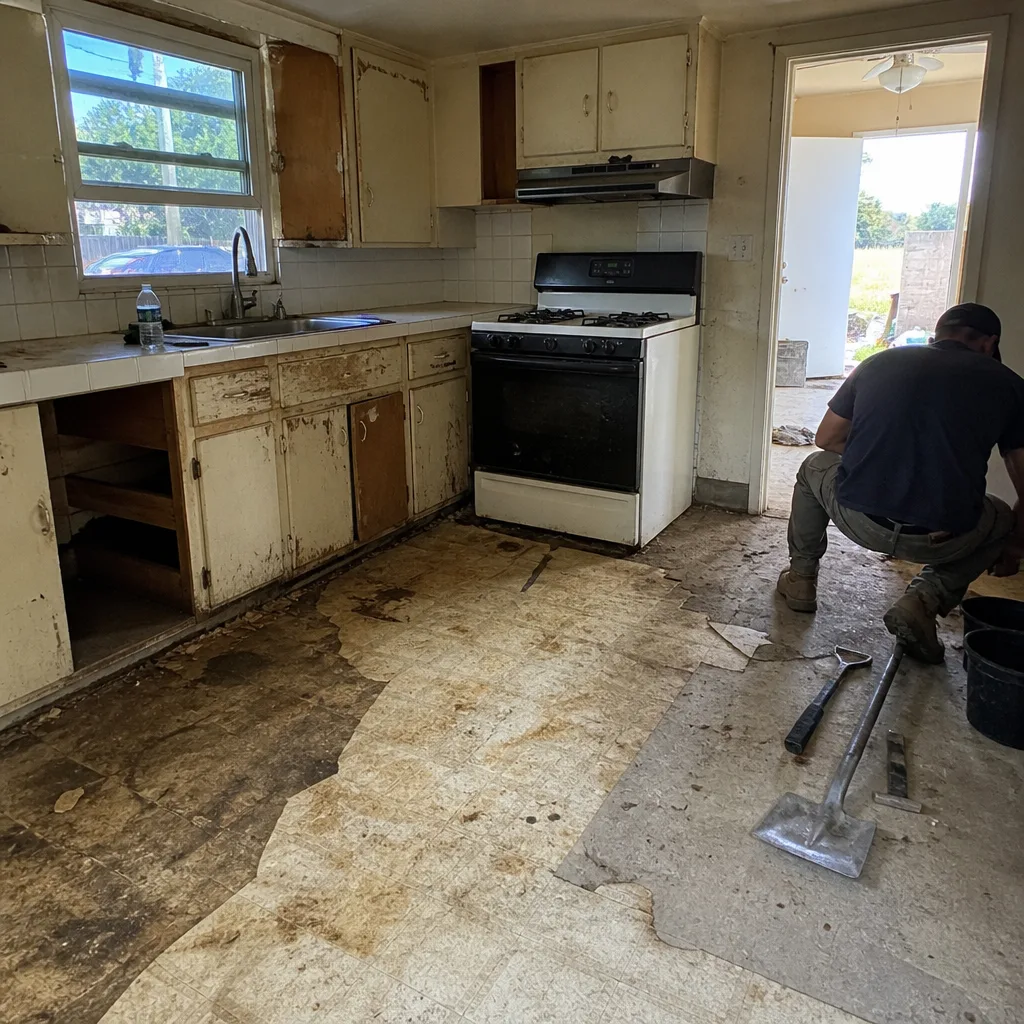 Before
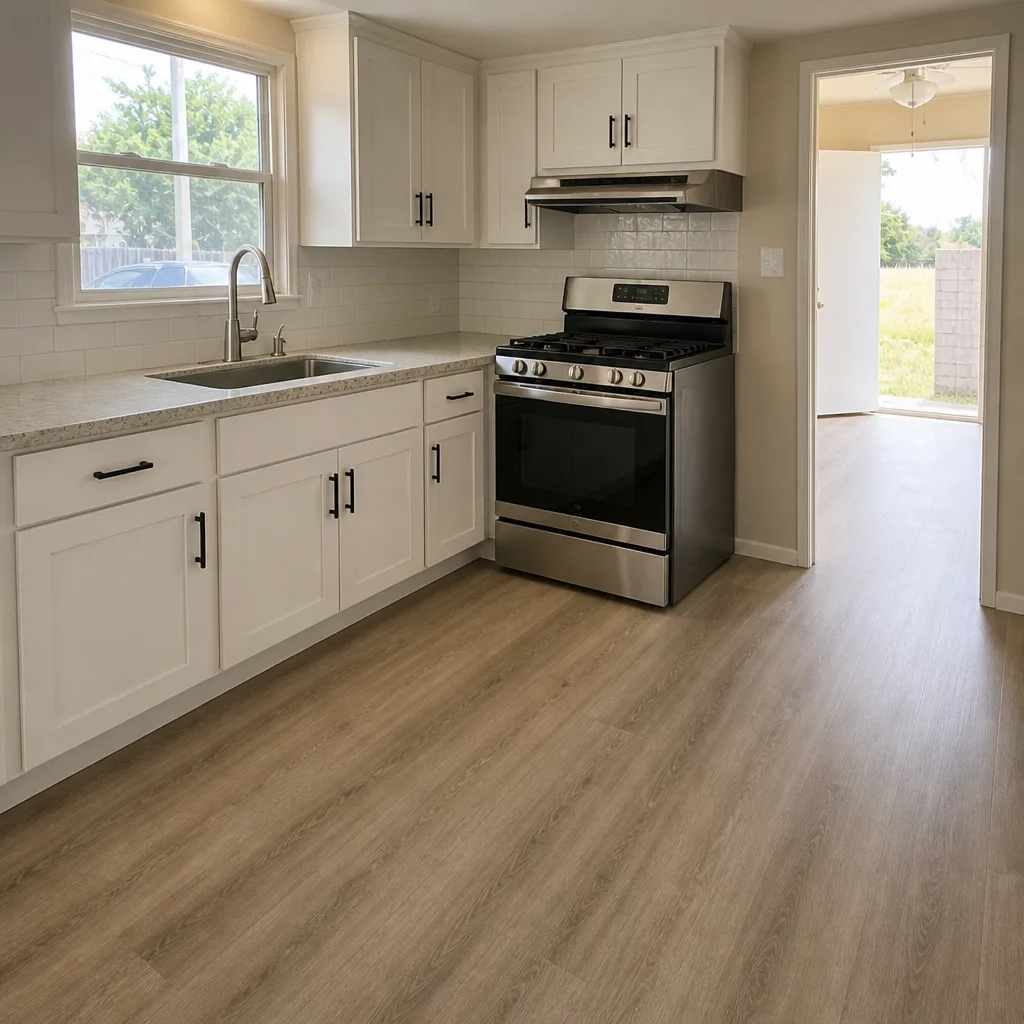 After
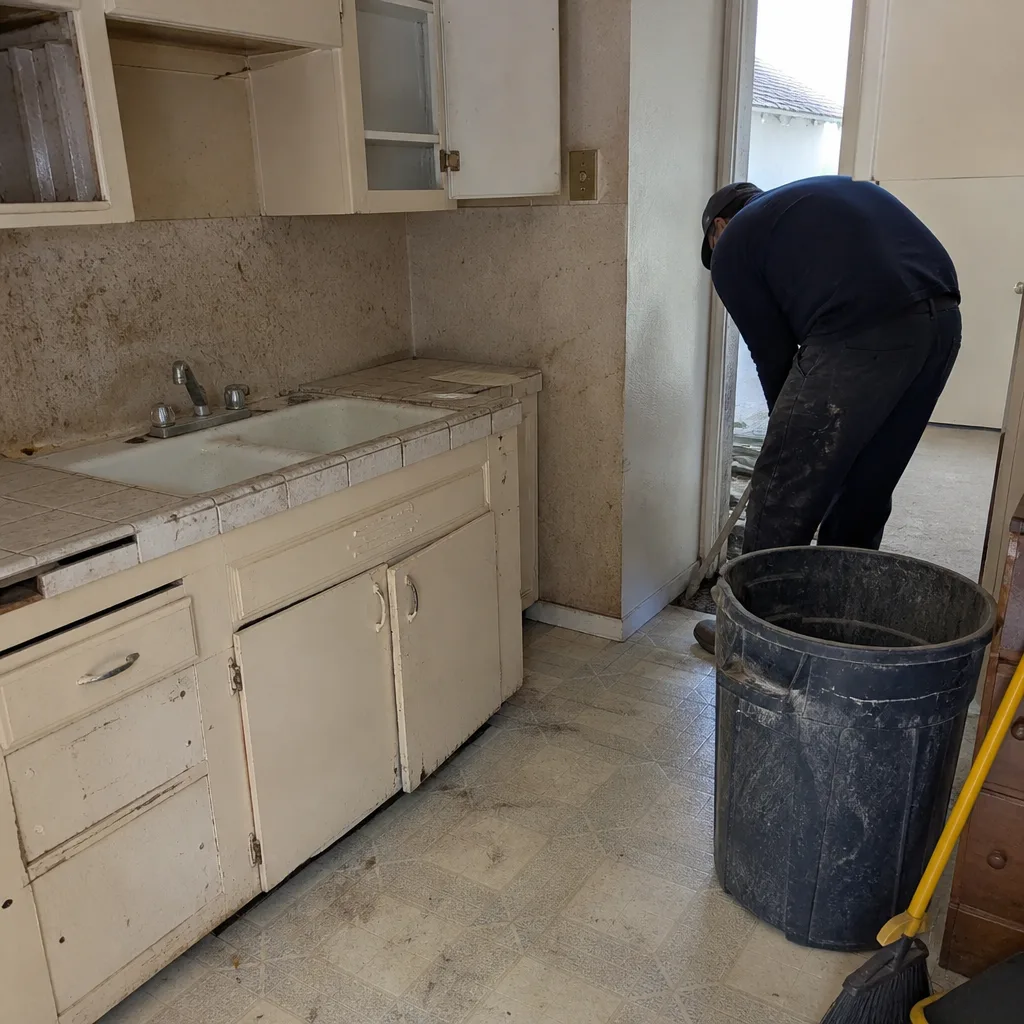 Before
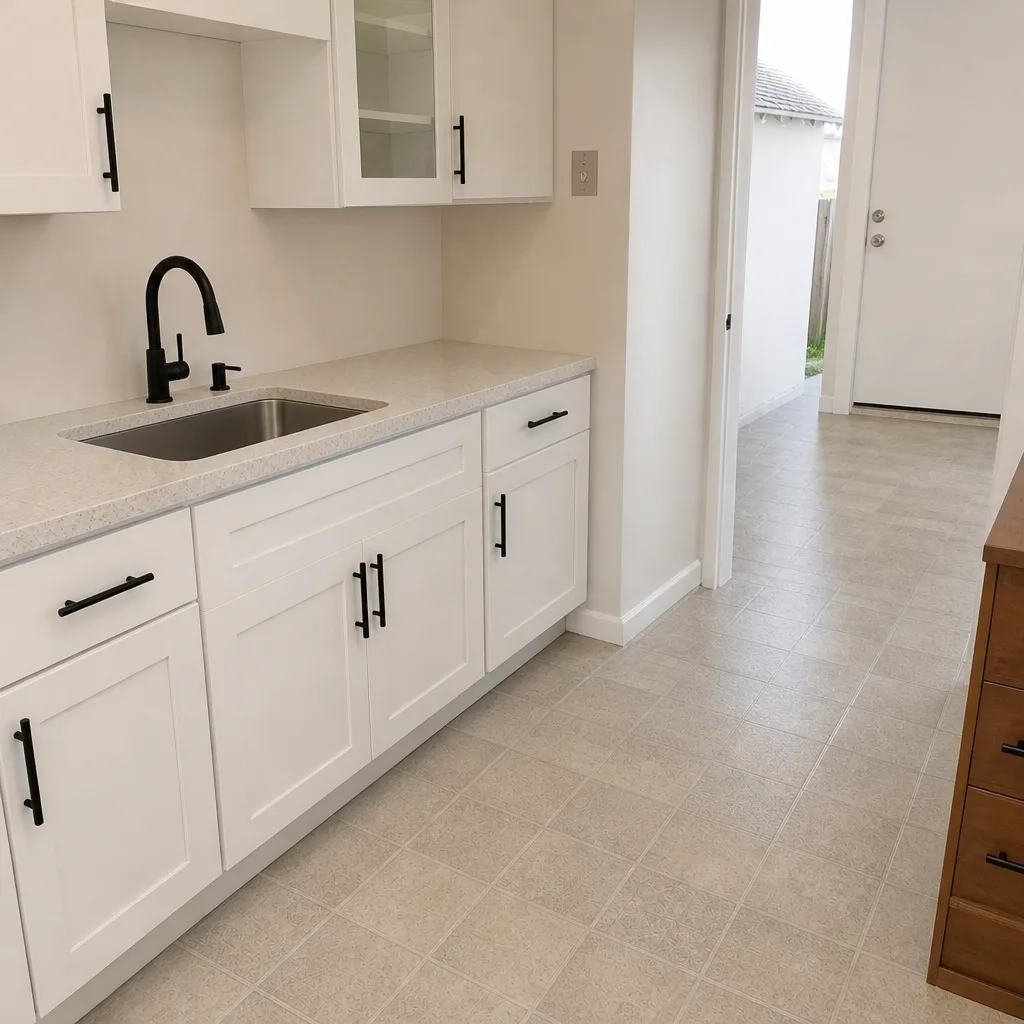 After
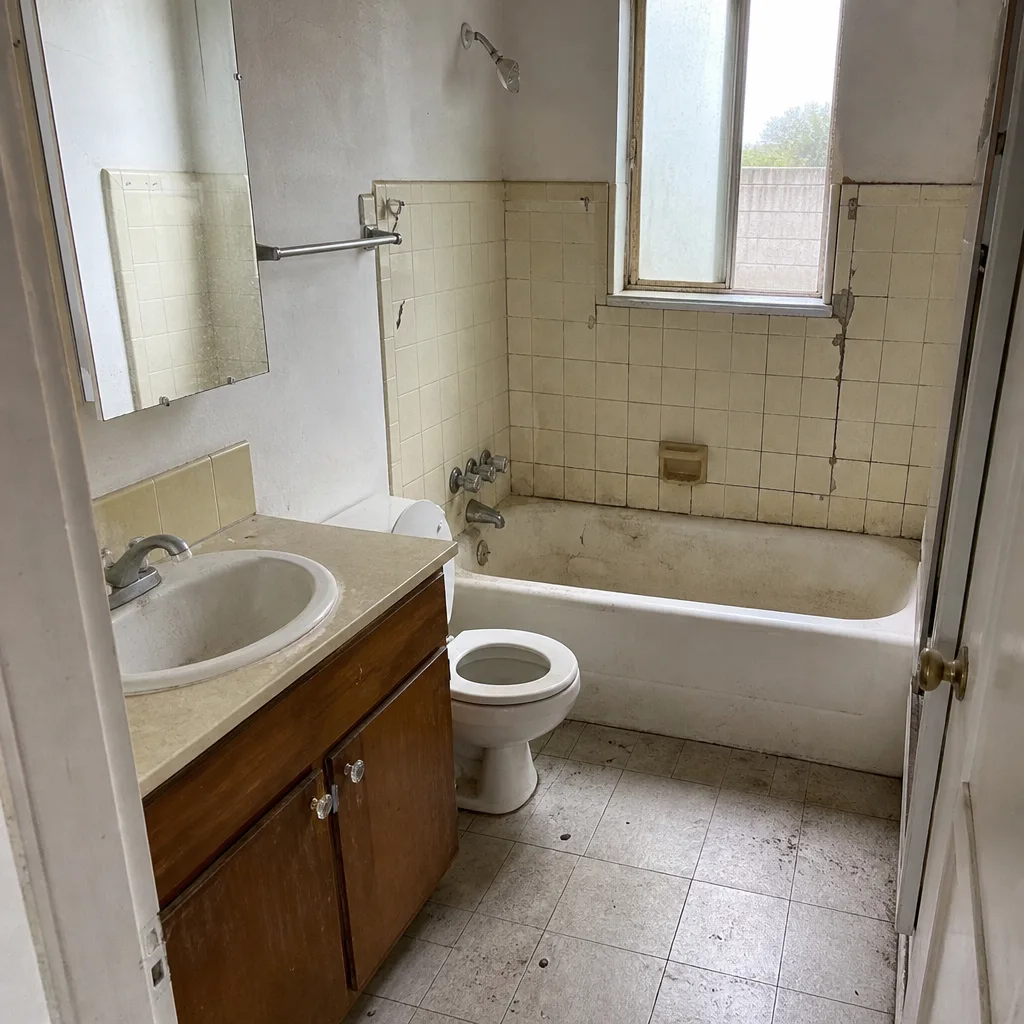 Before
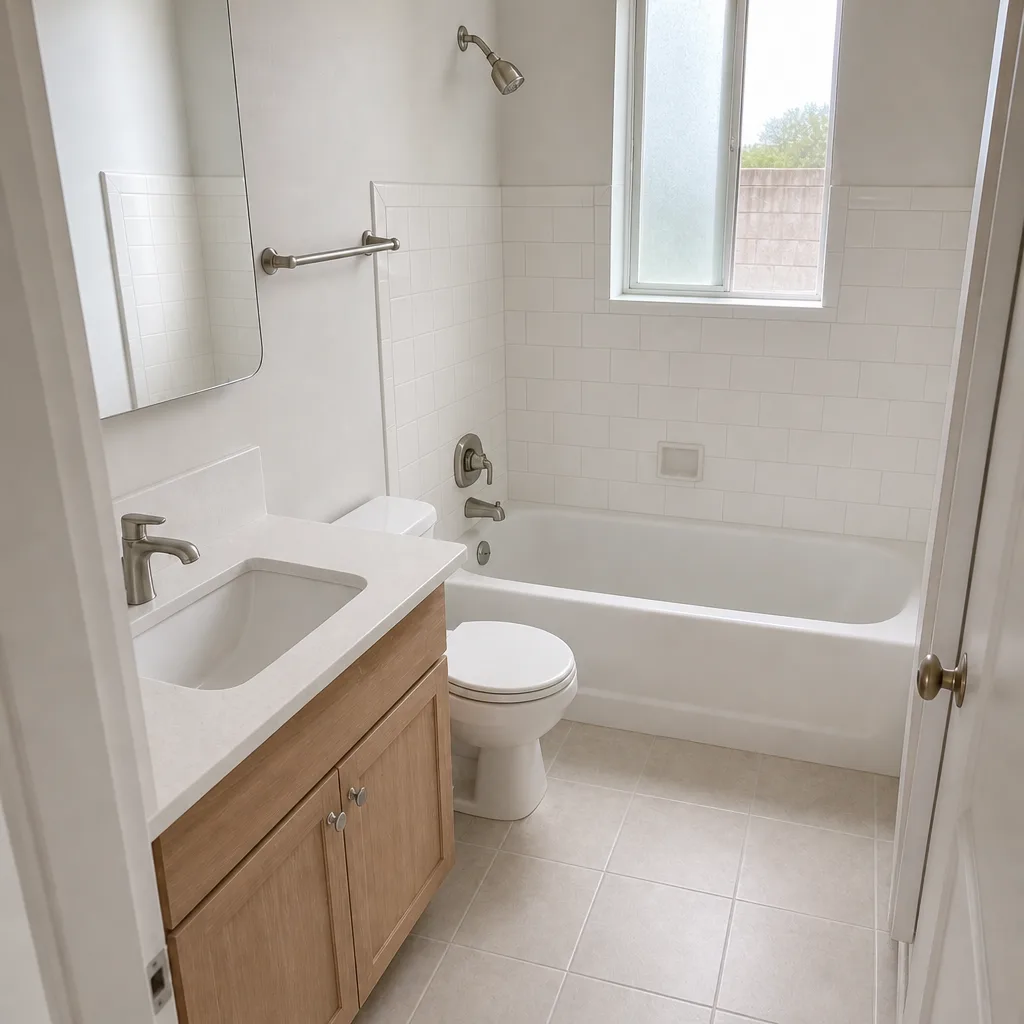 After
When to Call a Professional
Some maintenance is yours. Some of it should never be. Call a professional when you find water staining or soft wood inside a sink cabinet, when caulk is failing across an entire backsplash run, when your range hood has visible grease in the duct, when a quartz or stone surface has cracked, or when the warranty window on cabinetry is still open and a hinge or drawer track has failed. In Los Angeles, older homes sometimes hide trouble in the rough-in behind the wall – a slow leak that has been present for years – and that’s not a job for a weekend and a YouTube tutorial. Bradford Remodeling Co Los Angeles offers free estimates in Los Angeles – call (844) 343-6681 and we’ll tell you plainly whether you’re looking at maintenance or repair.
If your kitchen is older and the maintenance problems are piling up, sometimes the smarter move is a remodel. Our general contractor in Los Angeles service covers that broader scope, and if the bathroom is next, we handle bathroom remodeling in Los Angeles to the same standard.
Frequently Asked Questions

Every six months is the practical interval, and every time you notice a crack. Caulk is an expansion joint, not a permanent seal – it absorbs the movement between your counter and your wall tile, and it will fail first in any kitchen. In Los Angeles, the dry-to-wet seasonal swing shortens the interval further, so we recommend inspecting twice a year and re-caulking whenever a crack appears. Call (844) 343-6681 for a free estimate if the failure is broader than a single joint.
No. Quartz, Cambria, and Caesarstone surfaces are non-porous and don’t need sealing. Applying an impregnating sealer to engineered quartz is a maintenance error that can create a haze and may void the manufacturer’s warranty. Wipe with mild soap and water, use a trivet, and you’ve covered the schedule.
A slow drip breeds mold and rots the cabinet floor, and it usually starts on a connection you can’t see until you look. In a Los Angeles kitchen, check quarterly: dry every fitting, check for a wet ring, and press on the cabinet floor to feel for softness. If it’s spongy, call a professional before you have a larger repair on your hands.
Follow the manufacturer’s care instructions exactly, keep your purchase documentation, and record any failure in a maintenance log the day you notice it. Most warranties have notification windows and exclusion clauses for improper cleaning or sealing. A written maintenance log is your evidence. Call (844) 343-6681 for an exact quote if a warranty issue needs repair – estimates are free.
Yes. Grease buildup in the filter and duct is combustible, and Los Angeles residential kitchen ventilation is regulated under the same fire code framework as commercial kitchens. Clean mesh filters monthly to quarterly and inspect the duct annually. Never attempt to clean a duct run inside a wall yourself – that’s a professional job.
Routine maintenance is inexpensive and DIY-friendly: caulk and a tube of silicone run about $15 to $30, a natural-stone re-seal is $50 to $150 for a homeowner kit or $200 to $350 for a professional application, and grout sealing is similar. Repairs get more expensive fast – a substrate repair behind a failed caulk joint in Los Angeles typically runs $800 to $2,500. Call (844) 343-6681 for an exact quote on any repair – estimates are free and written before work starts.
The Bottom Line
A kitchen isn’t a static object. It’s a system of joints, seals, hinges, and connections that all have a maintenance interval, and the parts that fail first are always the pieces designed to give. Caulk joints, grout lines, and under-sink fittings are the sacrificial components. Check them on schedule – 90 days, 6 months, 12 months in the first year, then the six-month caulk rule and the quarterly under-sink check going forward. Keep a written log. Protect your manufacturer warranties by following the care instructions that come with your materials. If a maintenance issue has turned into a repair, Bradford Remodeling Co Los Angeles is here to help – call (844) 343-6681 for a free estimate.
Our technicians have up to 22 years of experience, and every project closes with a written price, a clean site, and the signed 365-Day Done Right Promise in your hand. When you’re ready for a deeper look at a full remodel, our kitchen remodeling in Los Angeles service page covers the scope and materials in detail.
Written by the team at Bradford Remodeling Co Los Angeles.